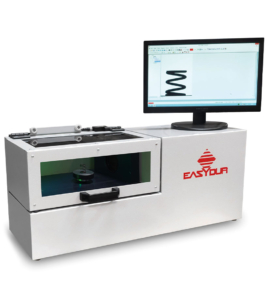
No optical measurement system can be considered free from limitations due to the dimensions of the parts being examined and to the lighting method. Often the inspection of faults is carried out with vision systems based on many video cameras and traditional lighting devices, with high installation and calibration costs.
In particular the measurements performed by the system are
- E1/E2 parallelism and perpendicularity
- Grinding angle
- Diameter of the whole wire of the spring
- Total number of coils
- Diameter and height of each coil
- Spring pitch on each coil
- Thickness of the last coil
- Height and flatness of the spring
- Spring concentricity on the last coil
- Inter-coil gap


